There comes
a time when you need to move the baby from the bedroom in his/her own room. So
I also undertook the project to decorate the children's bedroom. First, it was
necessary to choose stickers to decorate the child's room. I choose fun
colorful owls, which I bought in Mömax. So I started to decorate the walls with
the stickers on the afternoon. I finally found it was a great success. Our
little girl loves them :). On the wall I have also added a gift that she has
received for baptism from her grandmother, little angel, who embarks on a wall above
the commode.
There is
still the remaining decoration needed. Since the commode is already in the
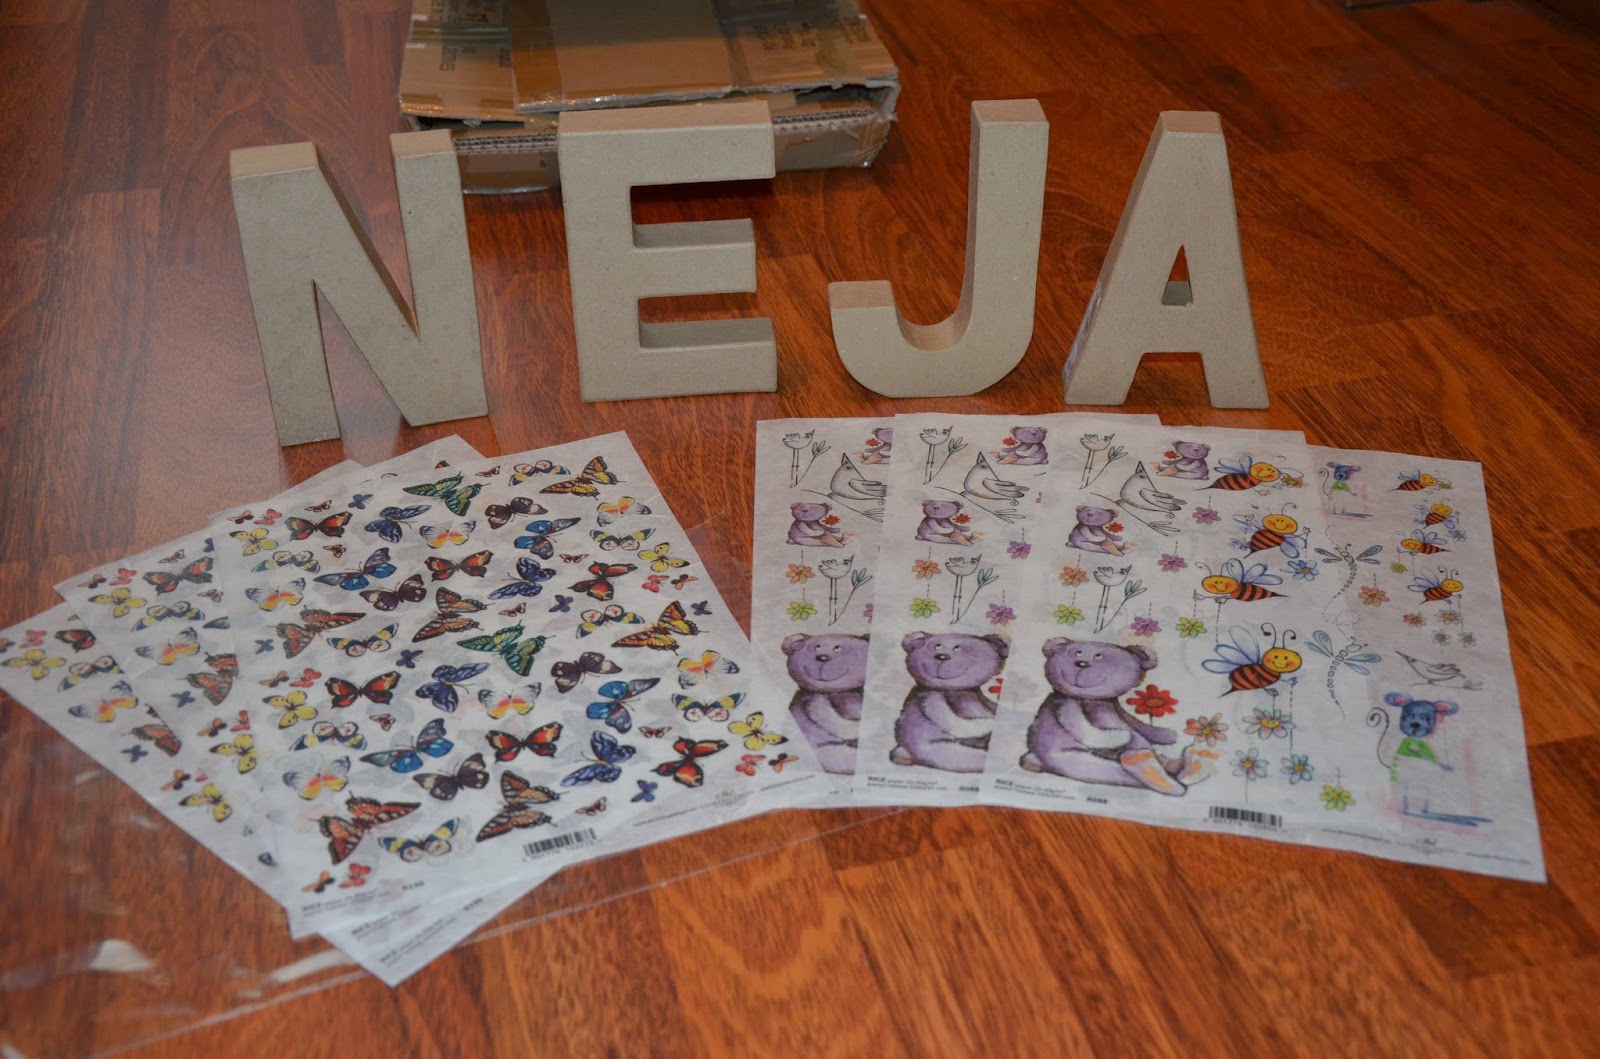
room, I decided to put letters with her name on it. The search for letters took
some time. Finally I found them online in RAYHER store. The letters are made of paper
pulp, size 15x10 and 5x3. I also ordered decoupage paper, with which I later covered
these letters. They can also be painted, but I decided to use decoupage paper
because it is much more colorful and with more characters, which is especially
liked by the little ones.
The package
arrived yesterday and I started creating. The paper I cut into pieces with
motifs and because it is so thin that it can be wonderfully designed, I began
to create a collage by gluing the pieces of paper on the letters.
After some
time the product has been completed and I am satisfied, because the letters fit
well on the commode, and are lightweight and robust enough to enable Neja also
playing with them :).
SLOVENSKO:
Otroška soba - 1. del
Pride čas, ko je potrebno dojenčka izseliti iz spalnice v
svojo sobo. Tako sem se tudi jaz lotila dekoracije otroške sobe. Najprej je
bilo potrebno izbrati nalepke, ki bi krasile otroško sobo. Izbrala sem zabavne
pisane sovice, ki sem jih kupila v Mömaxu. Tako sem se popoldne lotila
lepljenja teh nalepk in kot sem na koncu ugotovila je bil to zadetek v polno.
Naša mala jih naravnost obožuje :). Na steno sem dodala tudi še darilo, ki ga
je za krst prejela od babice, majhnega angelčka, ki se lepo poda na steno nad
komodo.
Potrebna je še ostala dekoracija. Ker je v sobi komoda sem
se odločila, da nanjo postavim črke z njenim imenom. Iskanje črk je vzelo nekaj
časa. Nazadnje sem jih našla v spletni trgovini Rayher. Črke so iz papirne
mase, velikosti 15x10 in 5x3. Prav tako sem naročila še decoupage papir, s
katerim sem kasneje te črke preoblekla. Možno jih je tudi pobarvati, vendar sem
se za decoupage papir odločila, ker je bistveno bolj barvit in z več motivi,
kar je malčkom še posebej všeč.
Paket je prispel včeraj in začela sem z ustvarjanjem. Papir
sem po motivih razrezala in ker je res tako tanek, da se ga da čudovito
oblikovat, sem z lepilom za papir začela ustvarjati kolaž.
Čez nekaj časa je bil izdelek končan in jaz zadovoljna, saj
so črke dobile namenjeno mesto na komodi, hkrati pa so dovolj lahke in trdne,
da se lahko Neja tudi z njimi igra :).


